Oyster Mushroom Growing Guide
Getting started…
Useful keywords to know
Spawn – a natural material containing mycelium
Substrate – the block that your mushrooms will fruit on at the end of the growing cycle. The substrate block in your kit is made from chopped wheat straw
Pasteurise – the process of reducing competing organisms inside your substrate block to create an ideal growing environment for your mushrooms to grow
Mycelium – the white filaments that become visible during the inoculation process. These filaments are called hyphae
Inoculation – mixing the substrate with the mushroom spawn before the incubation phase
Incubation – the period before your mushrooms are ready to fruit. This allows the mycelium to colonise the substrate block and develop the correct environment for mushrooms to grow
Flush – each harvest of mushrooms that grow on your substrate block
Spores – the reproductive cells of fungi that occur after mushroom fruiting has taken place
Inside your kit
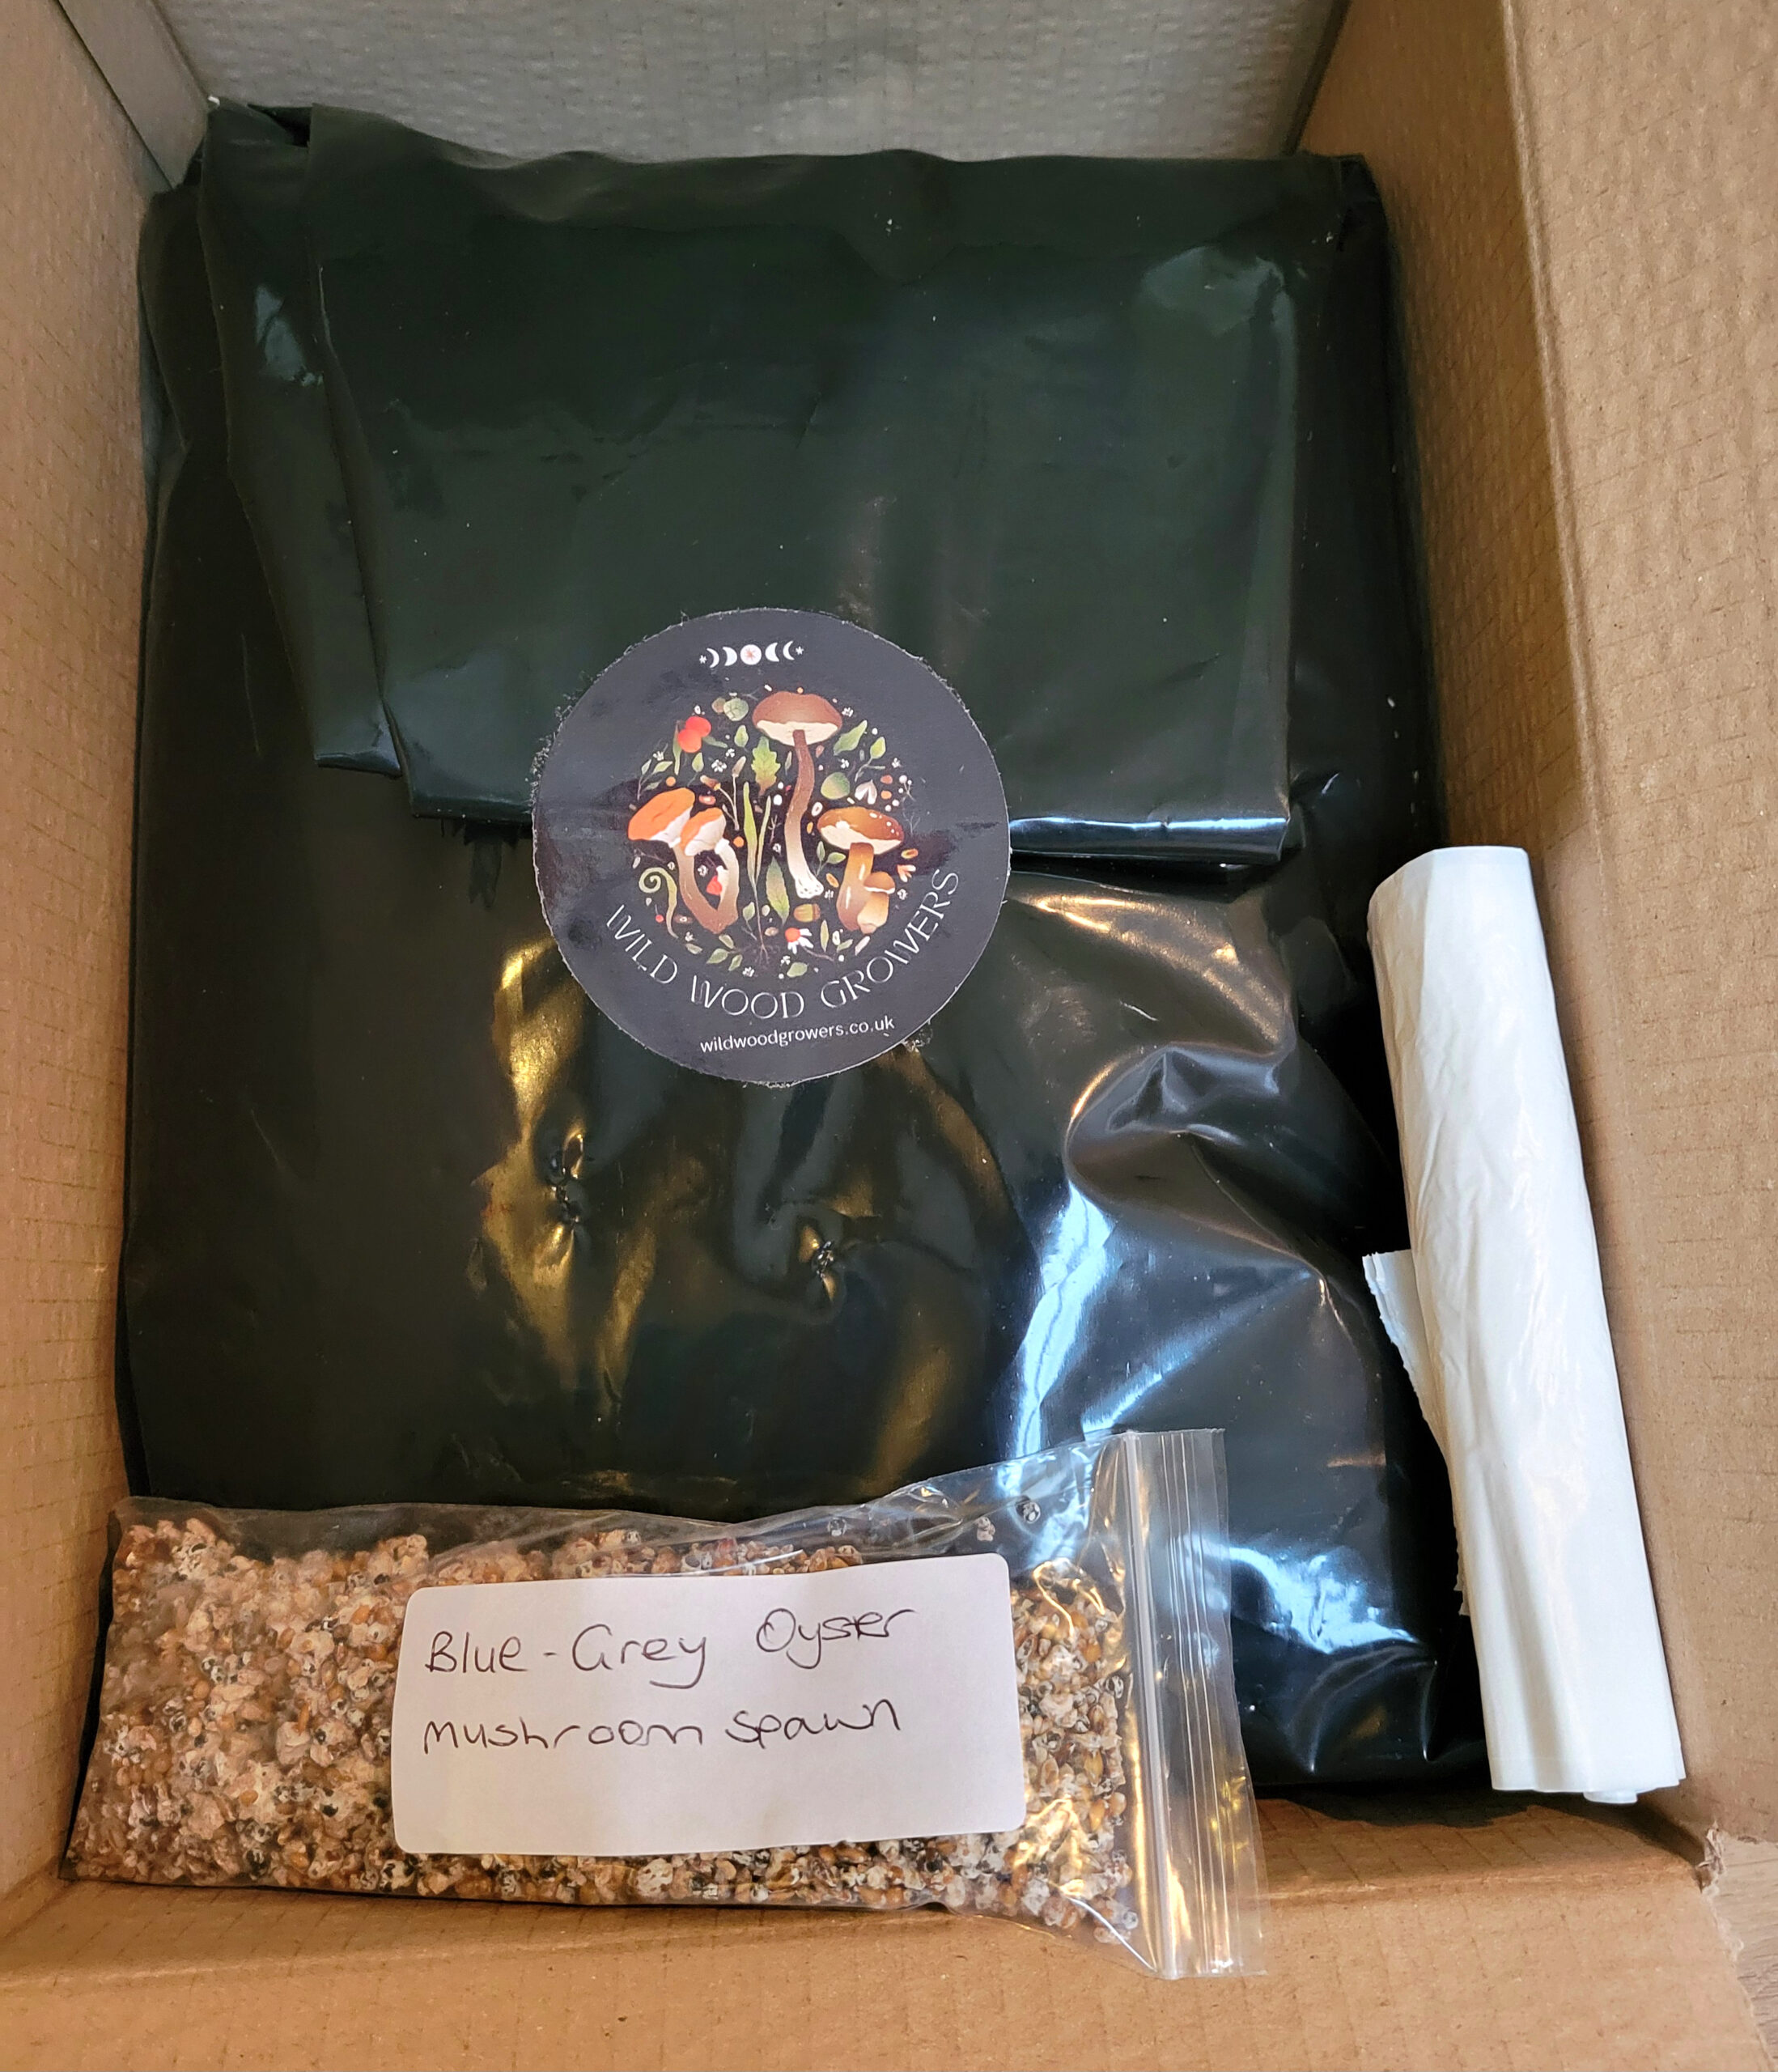
Cardboard box – please don’t throw this away, it is part of your kit. You will use this to incubate your substrate block and grow your mushrooms. Your box is recyclable after use.
Blue-Grey Oyster mushroom spawn: If you don’t intend to grow your mushrooms straight away, please remove the bag of spawn from your kit and store it in the fridge. For best results, always use your spawn within 14 days of purchase.
Growing guide – you’re reading it now! Recyclable after use.
Black substrate bag – a heat-resistant bag that you will use to pasteurise your substrate.
Substrate – the chopped wheat straw that your mushrooms will grow on.
Black liner – Used to create a waterproof growing environment

You will also need:
The correct growing temperatures:
Incubation – 20 – 25 degrees centigrade
Fruiting – 10 – 18 degrees centigrade
3 litres of just off boiling water to pasteurise your substrate
Tape to secure your black substrate bag
A sharp knife or scissors to cut crosses in your bag
Spray bottle to mist your kit during the fruiting phase (we recommend a new spray bottle to avoid contamination)
Step 1 – Pasteurisation
Place the black substrate bag into a sink or basin, standing upright. Add approximately 3 litres of boiling water into the bag. Please take care during this process to avoid scalding yourself and ensure that you leave the contents of the bag to cool fully before adding mushroom spawn.
Fold the top of the bag over and tape shut. Leave for 6-8 hours to ensure the substrate is pasteurised. Once cooled, cut off the bottom corners of the bag and leave to drain until no more liquid leaks out. Squeeze the black bag to ensure there is no further excess liquid. Substrate that is too wet will affect your growing kit productivity. Ensure that it is sufficiently drained before moving on to the mixing stage.
Step 2 – Inoculation
Wash your hands and forearms with warm water and soap to avoid contamination.
Thoroughly crumble the mushroom spawn into the black substrate bag and mix evenly throughout. An even distribution of spawn will help the mycelium colonise the substrate block effectively. Be sure to mix well!
Roll the top of the black substrate bag down whilst compressing it slightly, then seal with tape. Using a sanitised knife or scissors, cut x5 crosses on one face of the bag, with each cut approximately 3cm in size.
Step 3 – Incubation
Put the black substrate bag inside the white liner and wrap it loosely. Then, place them inside the cardboard box with the lid closed, but not sealed.
Place the kit in a dark place that has a temperature of around 20 – 25 degrees centigrade. A good spot could be under a bed, in a kitchen cupboard, or wardrobe. Avoid placing the kit next to radiators, boilers, pipes, and stoves. Incorrect or fluctuating temperatures may lead to a failed kit.
Leave the kit to incubate until the mycelium has colonised the substrate block throughout. You can see when this has happened as the substrate will be mostly white. This can take between 3 – 4 weeks typically, but if the temperature during incubation has been cooler it could take up to 5 weeks. Do not transition to the fruiting stage until the mycelium is fully established – look inside the crosses you previously cut into the bag to check.
Step 4 – Fruiting
Choose a location for fruiting that is within the required temperature range. Provide access to natural light (not direct sunlight) and good ventilation (but not draughty).
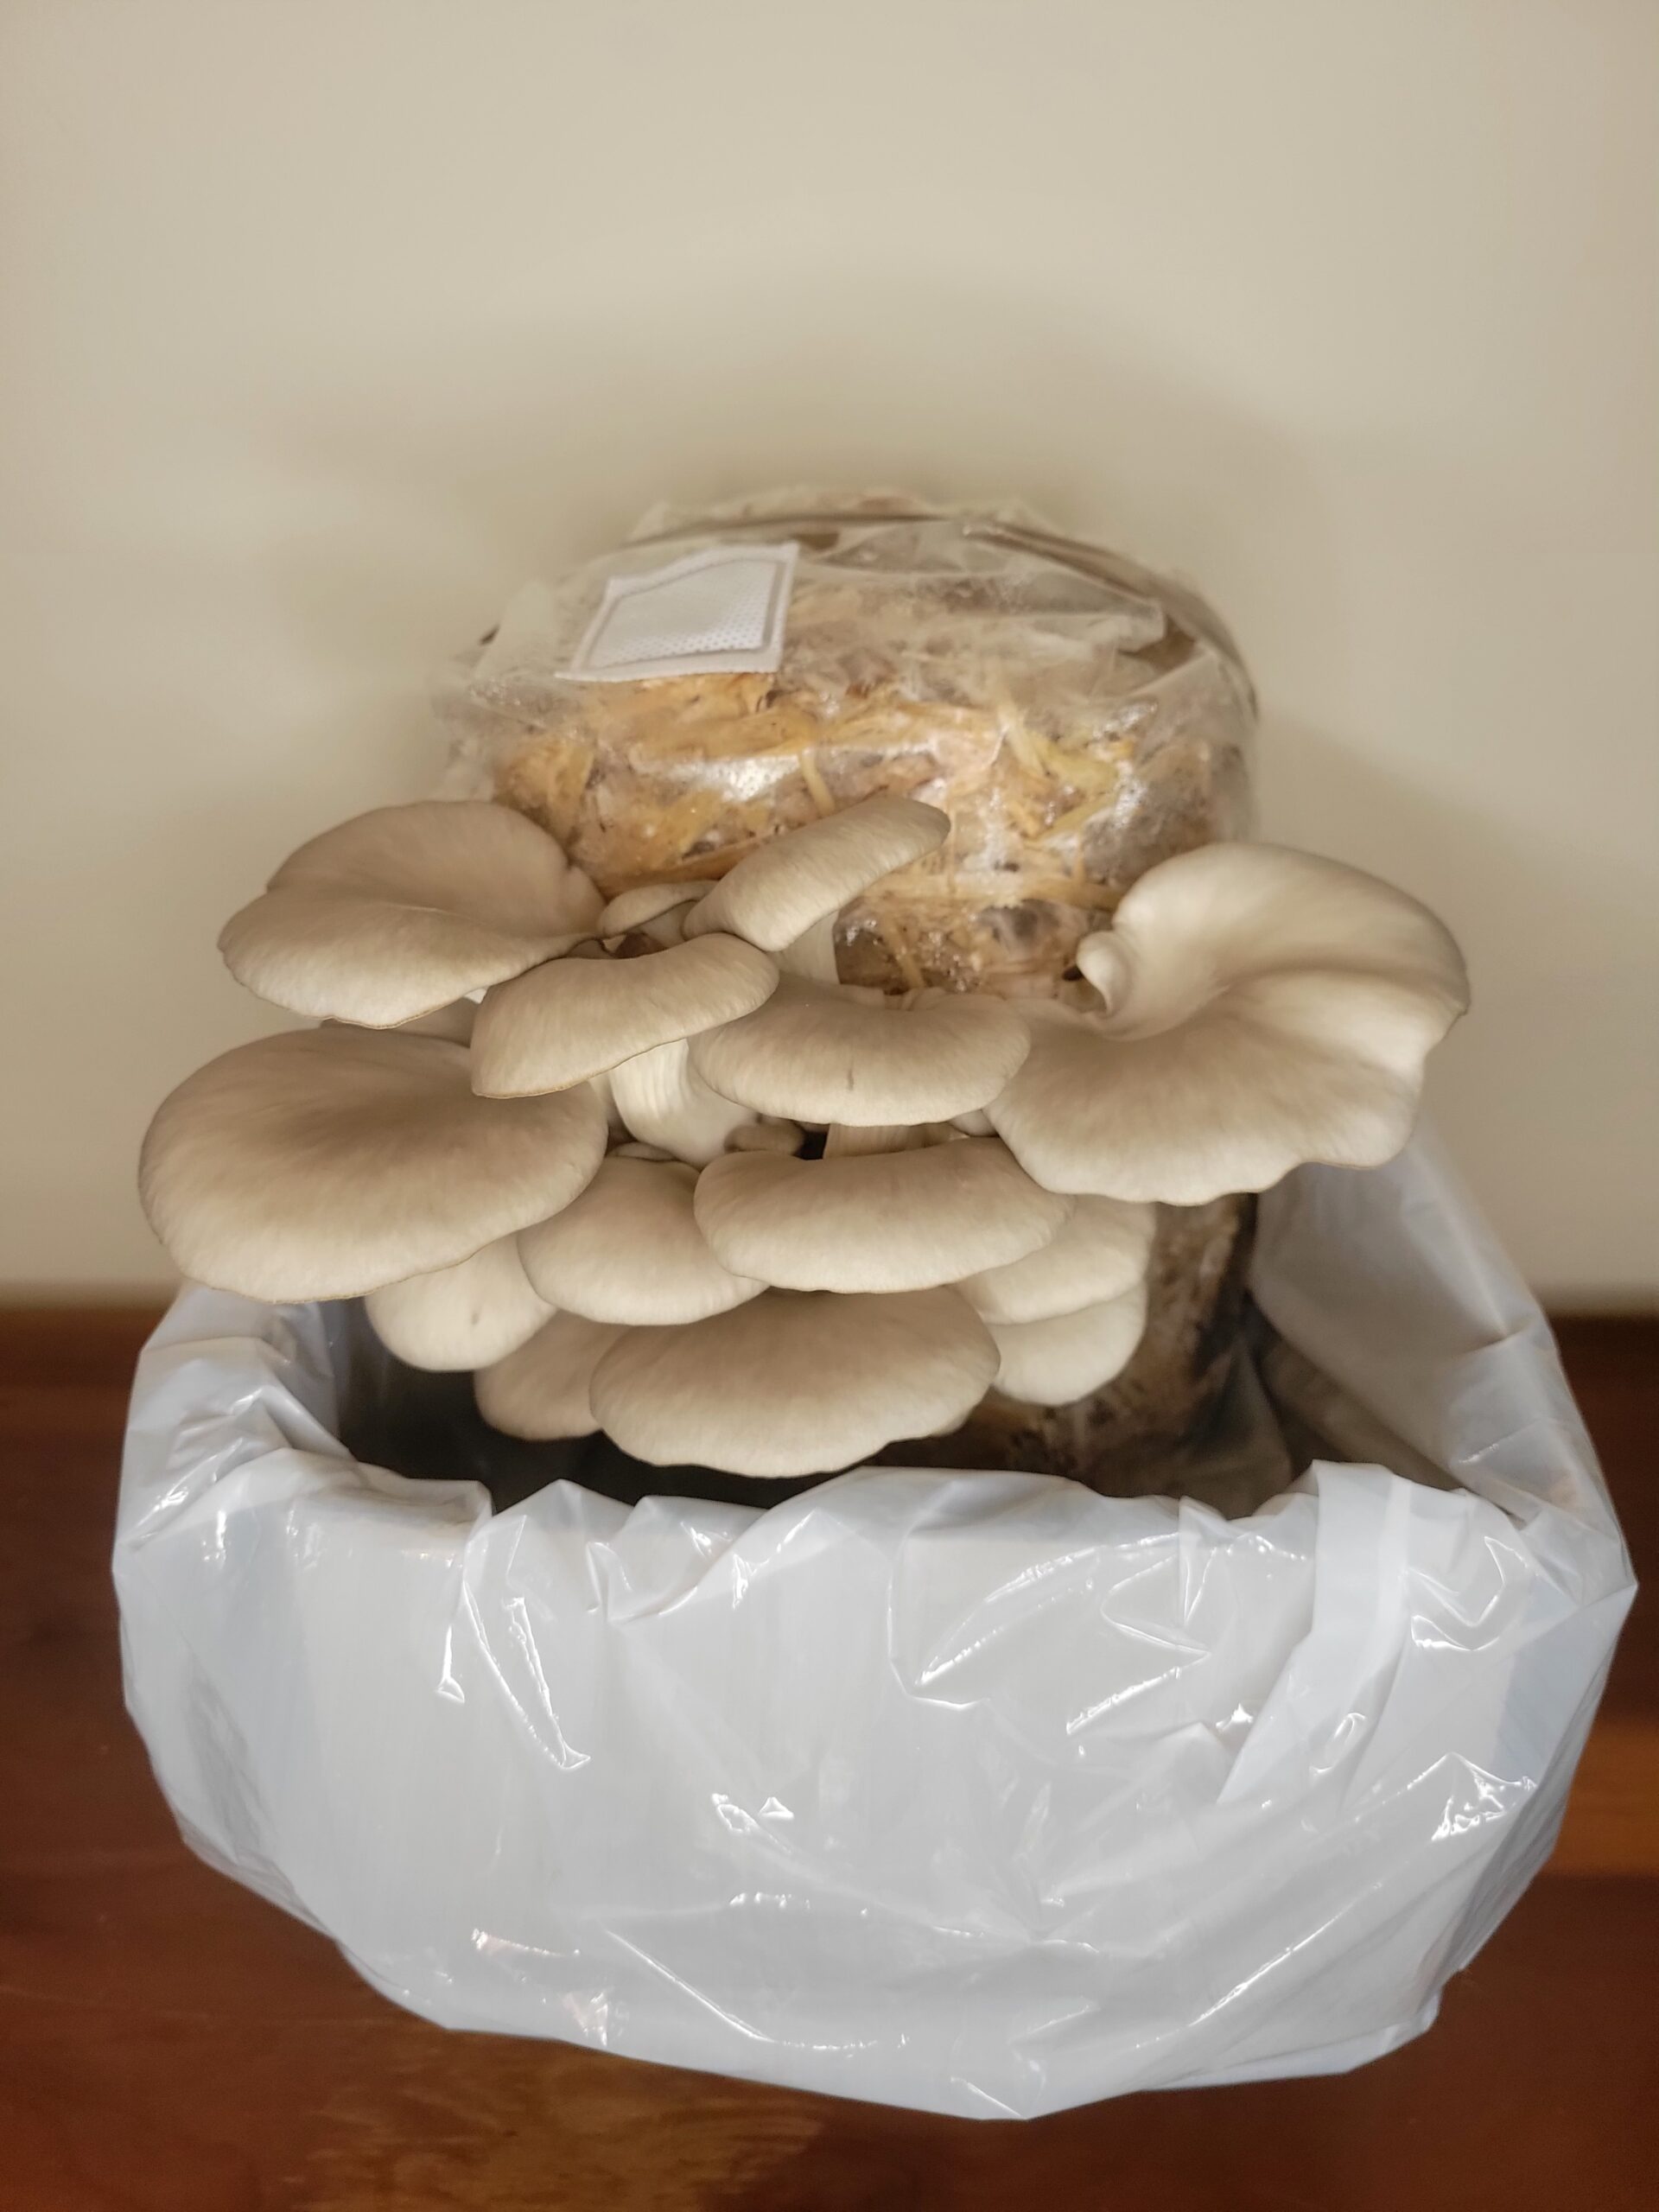
Open the cardboard box and stand the flaps of the box upright. Pull the white liner over the upright flaps with the substrate block on top of the liner at the bottom of the box. Position the black substrate bag standing upright facing toward one end of the cardboard box. The crosses will be facing the centre of the box.

Community Collaborations – Work With Wild Wood Growers
It’s our mission to help as many people in our community as possible to enjoy the benefits of growing their own food and plants, including the wider social, emotional and mental health benefits of learning in a community setting.
We collaborate with individuals, peer community groups, educational establishments, and local practitioners, to deliver learn to grow workshops and support transforming under-utilised pockets of land into attractive micro-sensory community herb gardens, small scale mushroom farms, and food forest gardens.
Please contact us directly if you’d like to explore the possibilities of Wild Wood Growers working in collaboration with your organisation or group.
